3 minutes
Use PyCharm for translation projects
I recently joined an awesome group of people working on the translation of Python’s official documentation to Spanish (https://github.com/PyCampES/python-docs-es) — which you can join too if you want to contribute —
They have a group on Telegram, in which we talk about this translation project, and where I told them that I would make a tutorial on how to configure PyCharm Professional to be used to work on this project:
So here I am doing it.
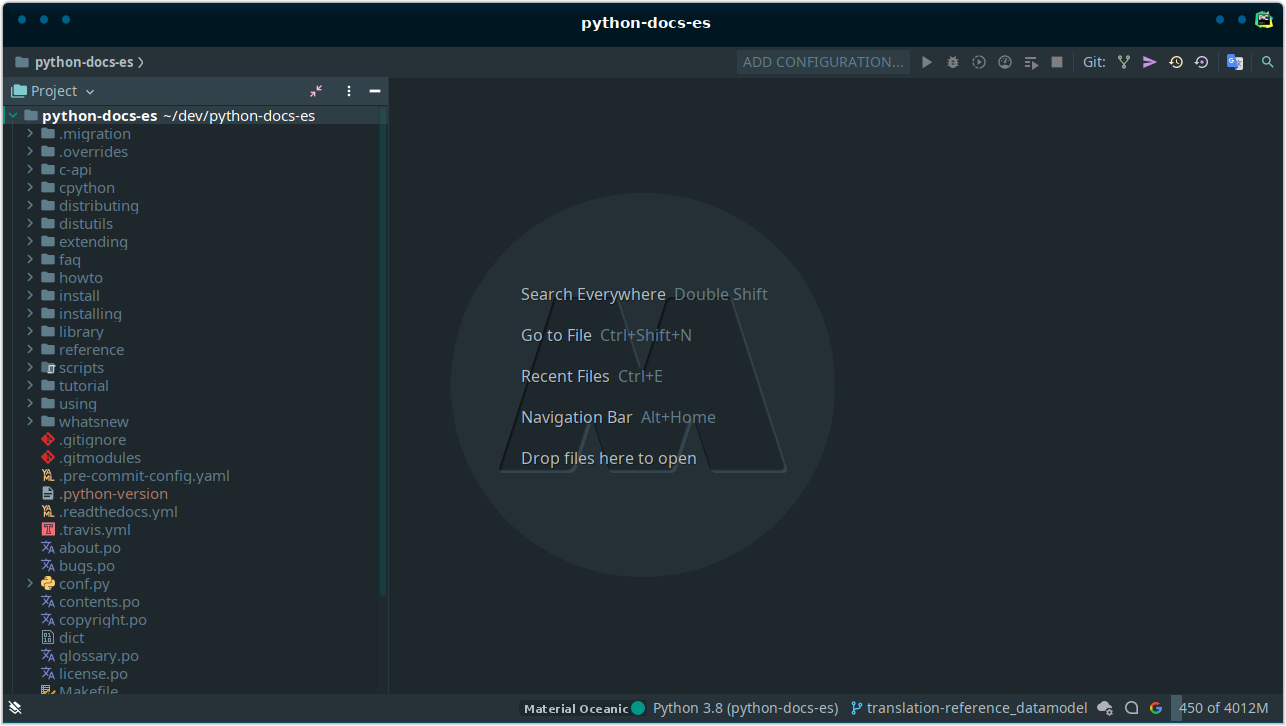
I’m going to use the Python’s documentation translation project as an example on this post, so first we have to clone it:
$ git clone git@github.com:PyCampES/python-docs-es.git
After that, open the project with PyCharm.
Install and configure a translation plugin
A good thing about PyCharm (and all JetBrains products) is that many
people made plugins for almost everything, so there are some plugins to
help you translate words inside the source code, to install a plugin
just open Settings -> Plugin -> Marketplace and type translation
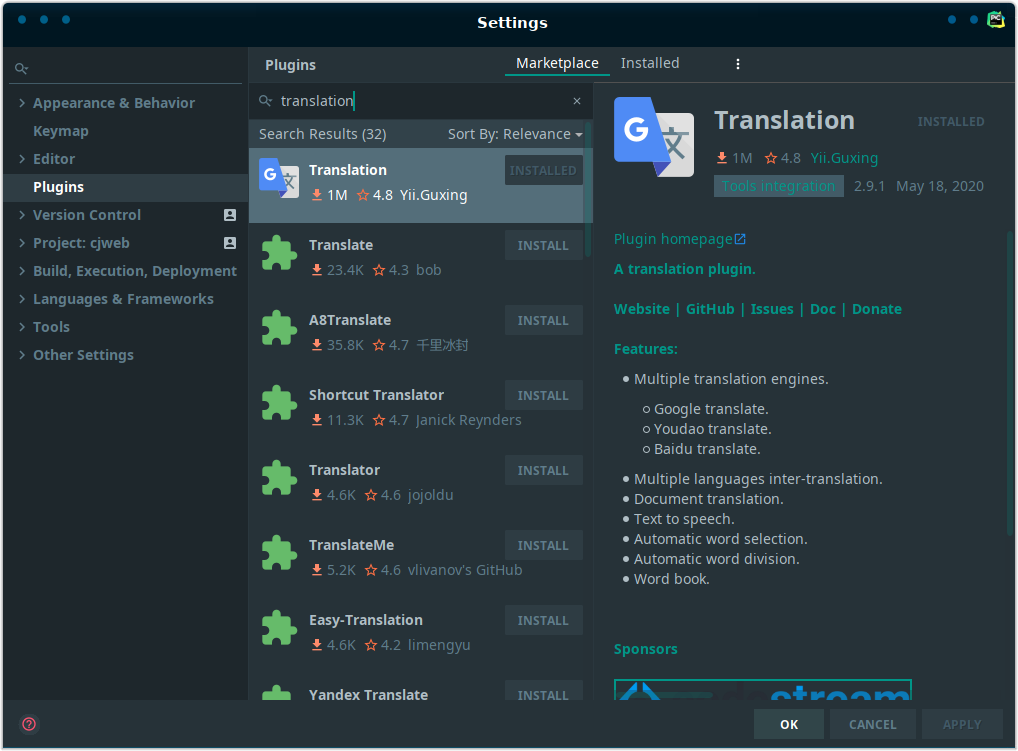
Install the plugin and then restart PyCharm to activate it.
Now let’s configure the plugin, go to Settings -> Other settings -> Translation
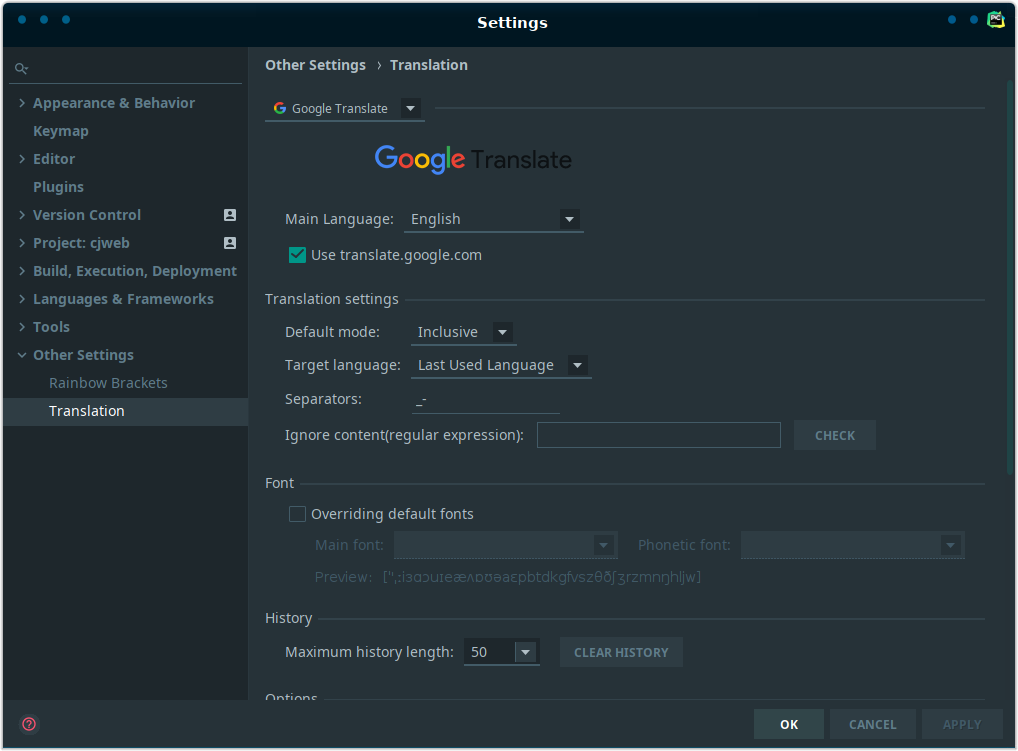
The options by default are good enough, by default it uses Google
Translate but you can change it to use Yaudao or Baidu translation
engines —yes, the creator of the plugin is a Chinese guy—.
The Main Language is the language of the original text you want to
translate, for this example case, it is English. For the target language
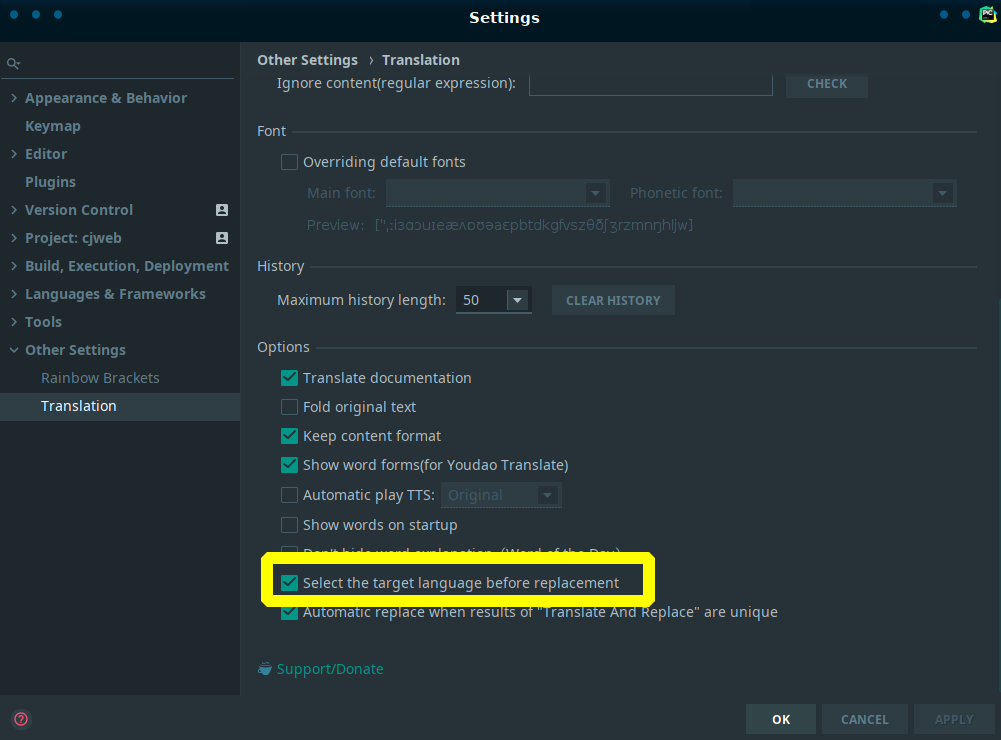
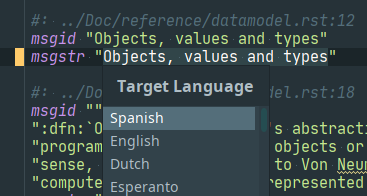
there is an option you may want to check, scroll down on the settings
page until you see the option Select the target language before replacement, that option will show a pop-up with a list of languages to
select at the moment of doing a replacement with a translation. —we will
see that later—
The rest of the options are good with the default values, however you can change them and see how the plugin works for you.
Now it’s time to configure a couple of keyboard shortcuts to use it.
Go to Settings -> Keymap and in the inner search bar type translate,
you will see that there are already 2 shortcuts set
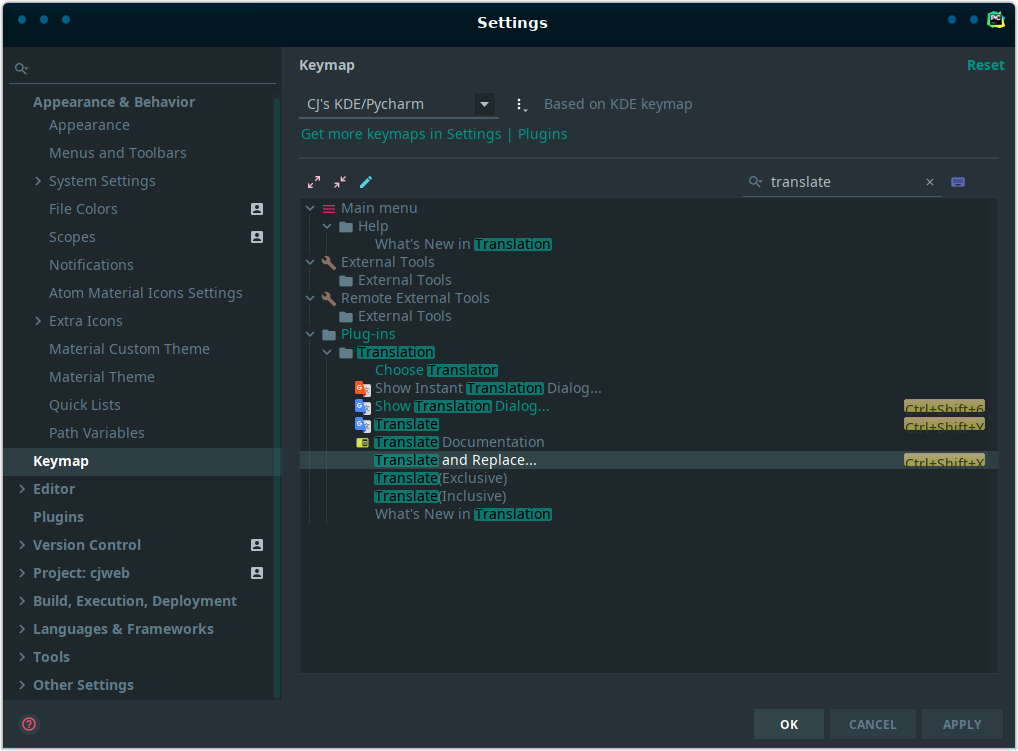
If you want you can change the shortcuts to anything you like to use.
Using the Translation plugin on the project
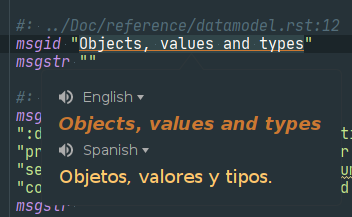
I personally like to work with parallel files in split mode, having in
one side the .rst file of the original language and in the other side
the .po file to work with, so I can know the real context of the text
being translated, this is how my screen looks like:

To see a translation of a text, just select the desired section and
press the shortcut set for the translate action, by default it’s
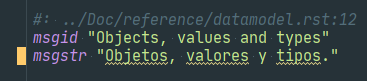
To directly replace the text with the translation, use the shortcut set
for translate and replace, by default it’s
and you will see the translation:
Obviously for longer texts, translations are not accurately enough, so you have to fix them by hand, but you will have most of the job done!
That’s basically all you need to set-up to use PyCharm Professional to work on translation projects.
Happy translating!